


Add a Form to Your Website
Link to your inquiry form from your website, or show it right on a page, with steps for Squarespace, Wix, Showit, WordPress, and Webflow.
There are two ways to put your inquiry form on your website:
- Link to it. Add a button, like "Inquire", that opens your form on a page of its own. This works on every website and every plan.
- Embed it. Show the form right on a page of your site, such as your Contact page, so couples never leave your website. Most website plans allow this.
Neither one changes anything else on your website.
Link to your form
- In Folia, open your form and click Share.
- Under Link, click the copy button next to the link.
- In your website builder, add a button to the page, then paste the link as the place the button goes.
The same link works in your Instagram bio, your email signature, and anywhere else you can paste one.
Show the form on a page
- In Folia, open your form and click Share.
- Under Embed on your site, click Copy. This copies a short piece of code. You don't need to read it or change it.
- Paste the code into your website, following the steps for your website builder.
- In Squarespace, edit the page where the form should go.
- Hover over a section and click Add block or +, then click Code.
- Click the pencil icon on the new block.
- Paste the code into the box. Keep Mode set to HTML, and leave Display Source off.
- Click Save.
Squarespace only runs code like this on its Core, Plus, and Advanced plans. On the Basic plan, link a button to your form instead.
While you're signed in to Squarespace, the form may not show on your page. To check it, open the page in a private or incognito window.
- In the Wix Editor, go to the page where the form should go.
- Click Add Elements on the left, click Embed Code, then click Embed HTML. A box appears on your page.
- Click Enter Code on the box, paste the code under Add your code here, and click Apply.
- Drag the box into place and stretch it to the width you want. Then drag its bottom edge down until the whole form shows, Send button included.
- Switch to the mobile editor and make the box tall enough there too. See Make sure the whole form shows.
- Click Publish.
- In the Showit Design App, click the canvas where the form should go.
- In the toolbar at the bottom, hover over the element icon and click Embed Code. A black box appears on the canvas.
- Click the box. In the panel on the right, open the Embed Info tab and click the Custom Code box.
- Paste the code and click Save.
- Drag the corners of the box until the whole form fits, Send button included. If the box doesn't fit, make the canvas taller.
- Switch to the mobile view and resize the box there too. See Make sure the whole form shows.
- Publish your site.
- Open the page in the WordPress editor.
- Click + to add a block, search for Custom HTML, and click it. You can also type
/htmlon an empty line and press Enter. - Click Edit HTML, paste the code, and click Update.
- Click Save, Update, or Publish to save the page.
On WordPress.com, code like this needs a paid plan with hosting features turned on. Installing any plugin turns them on. Otherwise, the code disappears when you save the page.
On a WordPress site you host yourself, the code has to be added by an Administrator or an Editor. For anyone else, WordPress removes it when the page is saved.
- Open your site in the Webflow Designer and go to the page where the form should go.
- Open the Add panel (click +, or press A) and drag a Code Embed element to where the form should go.
- Paste the code and click Save & Close.
- Publish your site.
While you design, Webflow shows a gray placeholder instead of your form. To see the form, publish your site, or open Preview and turn on Enable custom code at the bottom left.
Code Embed needs a paid Site plan, or a Core, Growth, Agency, or Freelancer Workspace.
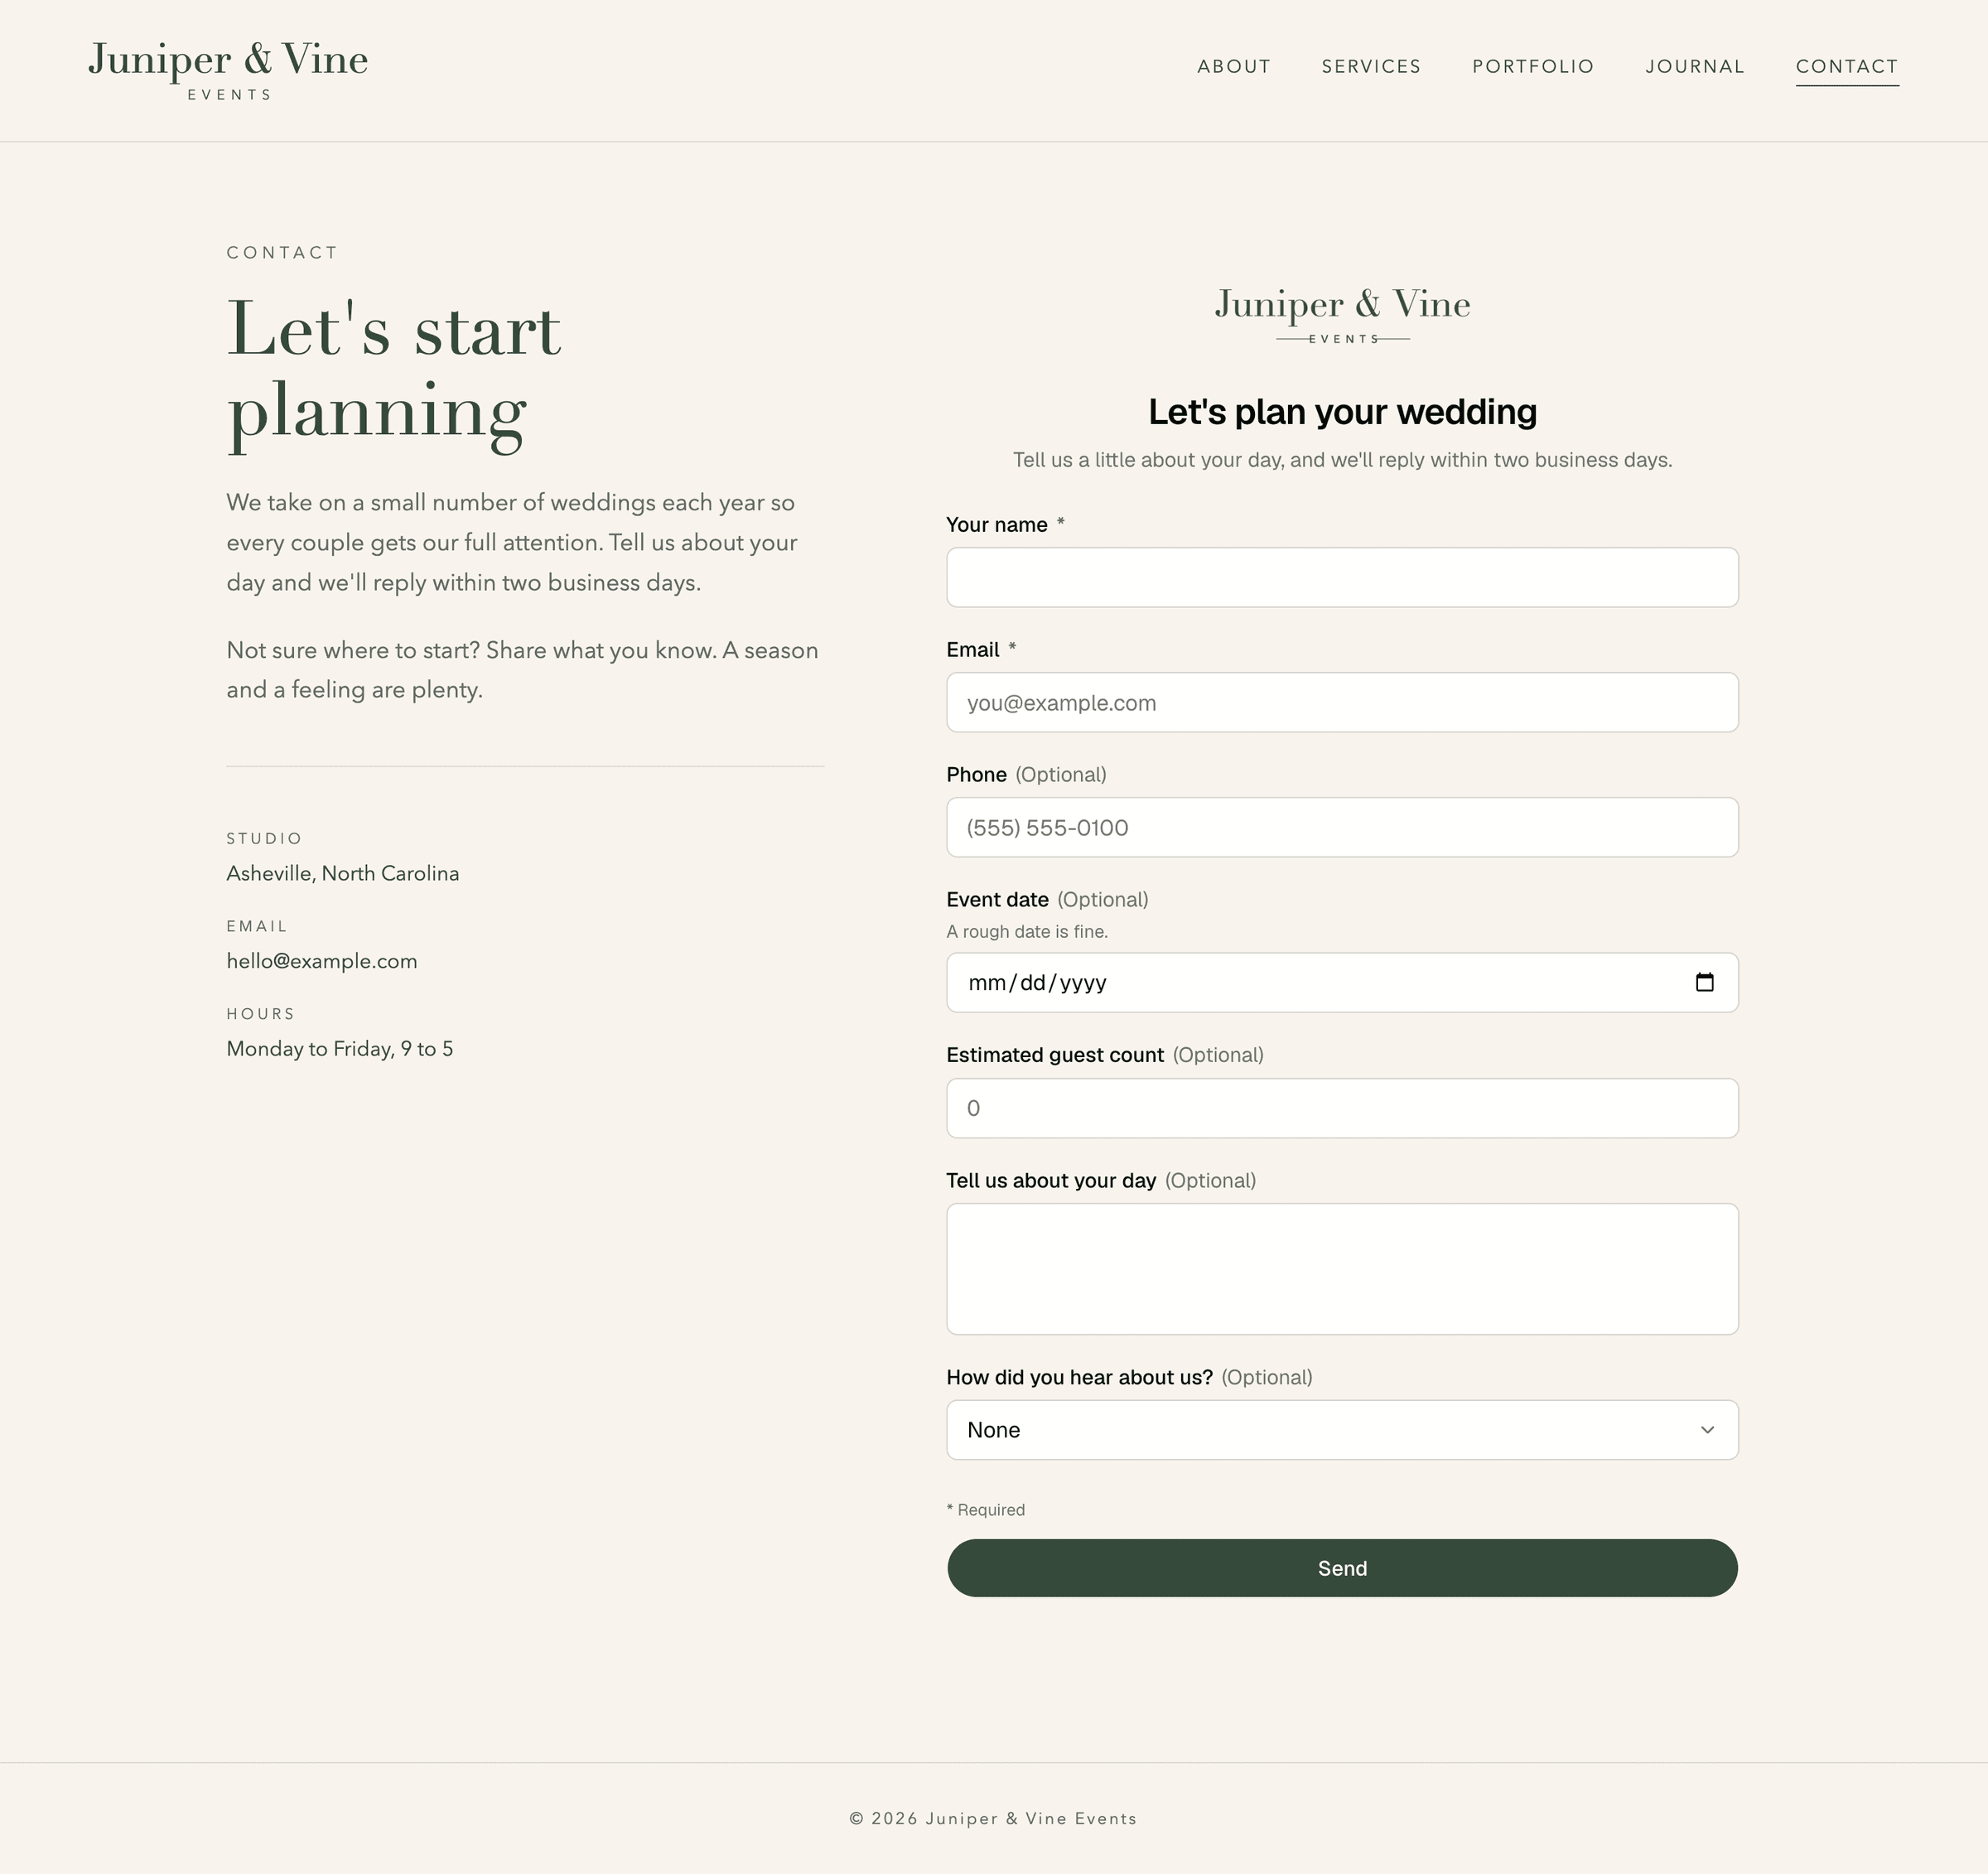
Make sure the whole form shows
On Squarespace, WordPress, and Webflow, the form fits the width of your page and grows as couples fill it in. There's nothing to size.
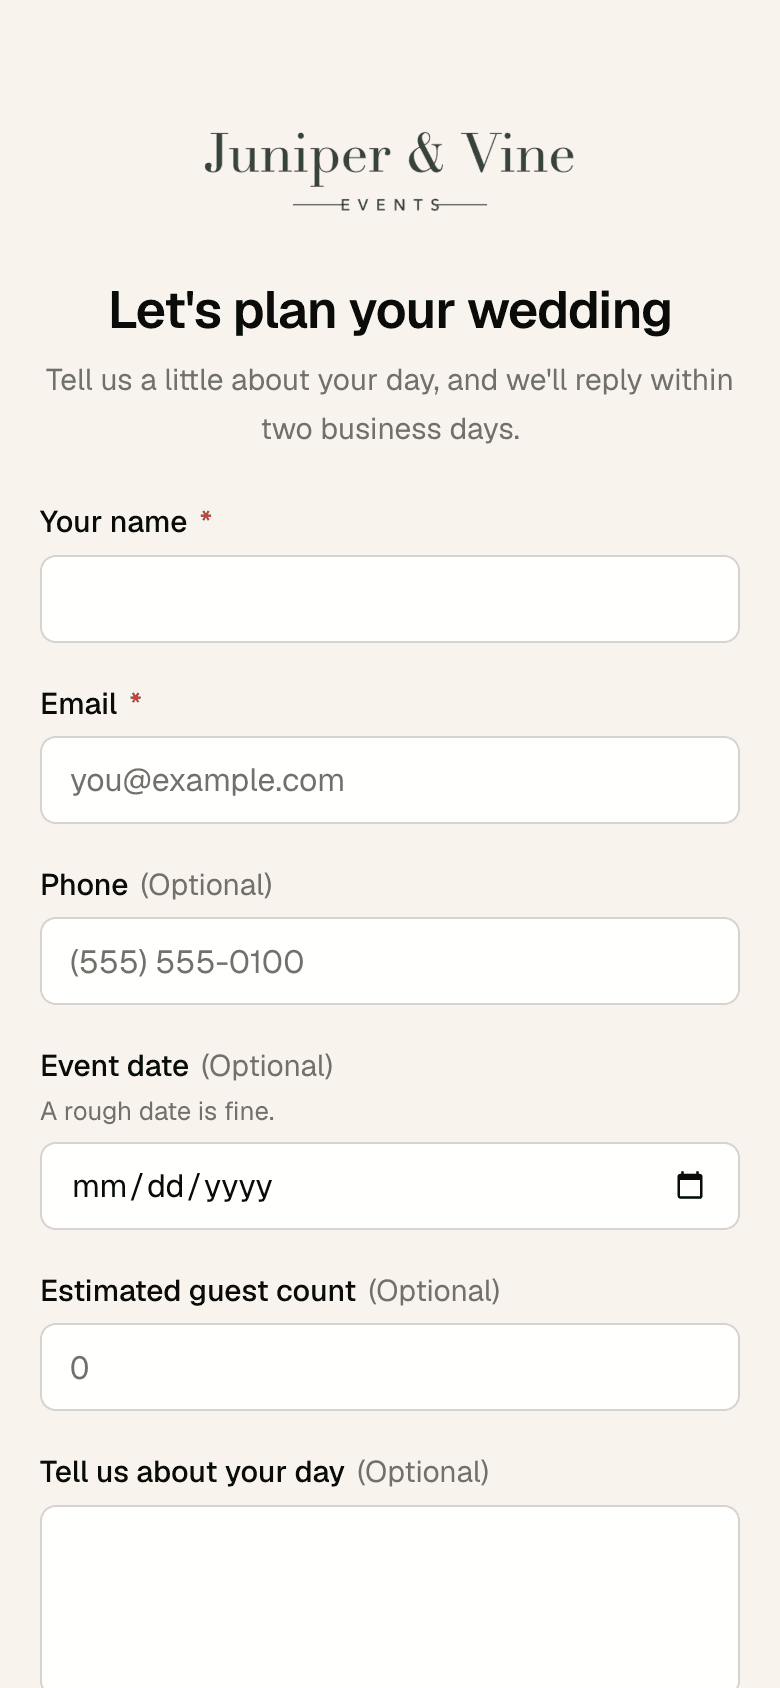
Wix and Showit keep the box the size you draw it. A form taller than its box scrolls inside it or gets cut off. Drag the bottom of the box down until the whole form shows, Send button included, then leave a little extra room. The form grows if a couple misses a required question, since a short note appears under it.
Then do the same in the mobile view. Wix and Showit lay out phones separately, and your form is narrower and taller on a phone.
Check that it works
- Open the page on your published website, not in the editor. A private or incognito window shows it the way couples see it.
- Fill out the form with your own details and click Send.
- Check that your thank-you message shows, or that you land on your thank-you page.
- In Folia, open Contacts. You appear as a new contact. On the form's Submissions tab, Submitted from shows the website your test was sent from.
- To remove the test contact, click ⋯ next to it in Contacts, then Delete.
Then try it once on your phone.
If the form doesn't show, is cut off, or says "This form isn't available", see Troubleshooting.
Inquiry Forms
Make the form couples fill out when they want to work with you, share its link, and add it to your website. Every inquiry arrives in your CRM as a new contact.
Inquiries and Submissions
What happens when a couple sends your inquiry form, how Folia lets you know, and how to review the submissions it holds back.