

Task Management
Build reusable task templates, organize them into service packages, and assign them to any client wedding in one click.
Task Management lets you build a standardized planning checklist once and push it to any client wedding. Every task gets a due date calculated automatically from the wedding date, so you never have to figure out "12 months before June 14th" again.
The basics
Go to Task Management in the Planner Suite section of the sidebar.
- Click Add task to add a row directly to the table.
- Fill in the task name, how many days before the wedding it's due, and an optional description.
- Click the Assign button on any row to attach that task to one or more client weddings.
Due dates are calculated per-wedding: assign the same template to ten different weddings and each one gets the right date for its couple.
Packages
Packages let you group tasks by service tier — for example "Day-Of Coordination" and "Full Planning" can each have their own task list inside the same table.
Click New in the tab bar to create a package. Tasks you add while a package tab is active are automatically tagged to that package. You can change a task's package at any time using the package picker on each row.
Click the colored dot next to any package tab to change its color.
Assigning templates to weddings
Click Assign to Weddings (top right of the tab bar) to push every task in a package onto client weddings in one step. Pick the package, pick the weddings, done. Tasks already on a wedding are skipped, so you won't get duplicates.
You can still assign tasks one at a time with the Assign button on each row, or select several rows and use the Assign to Weddings button in the selection bar.
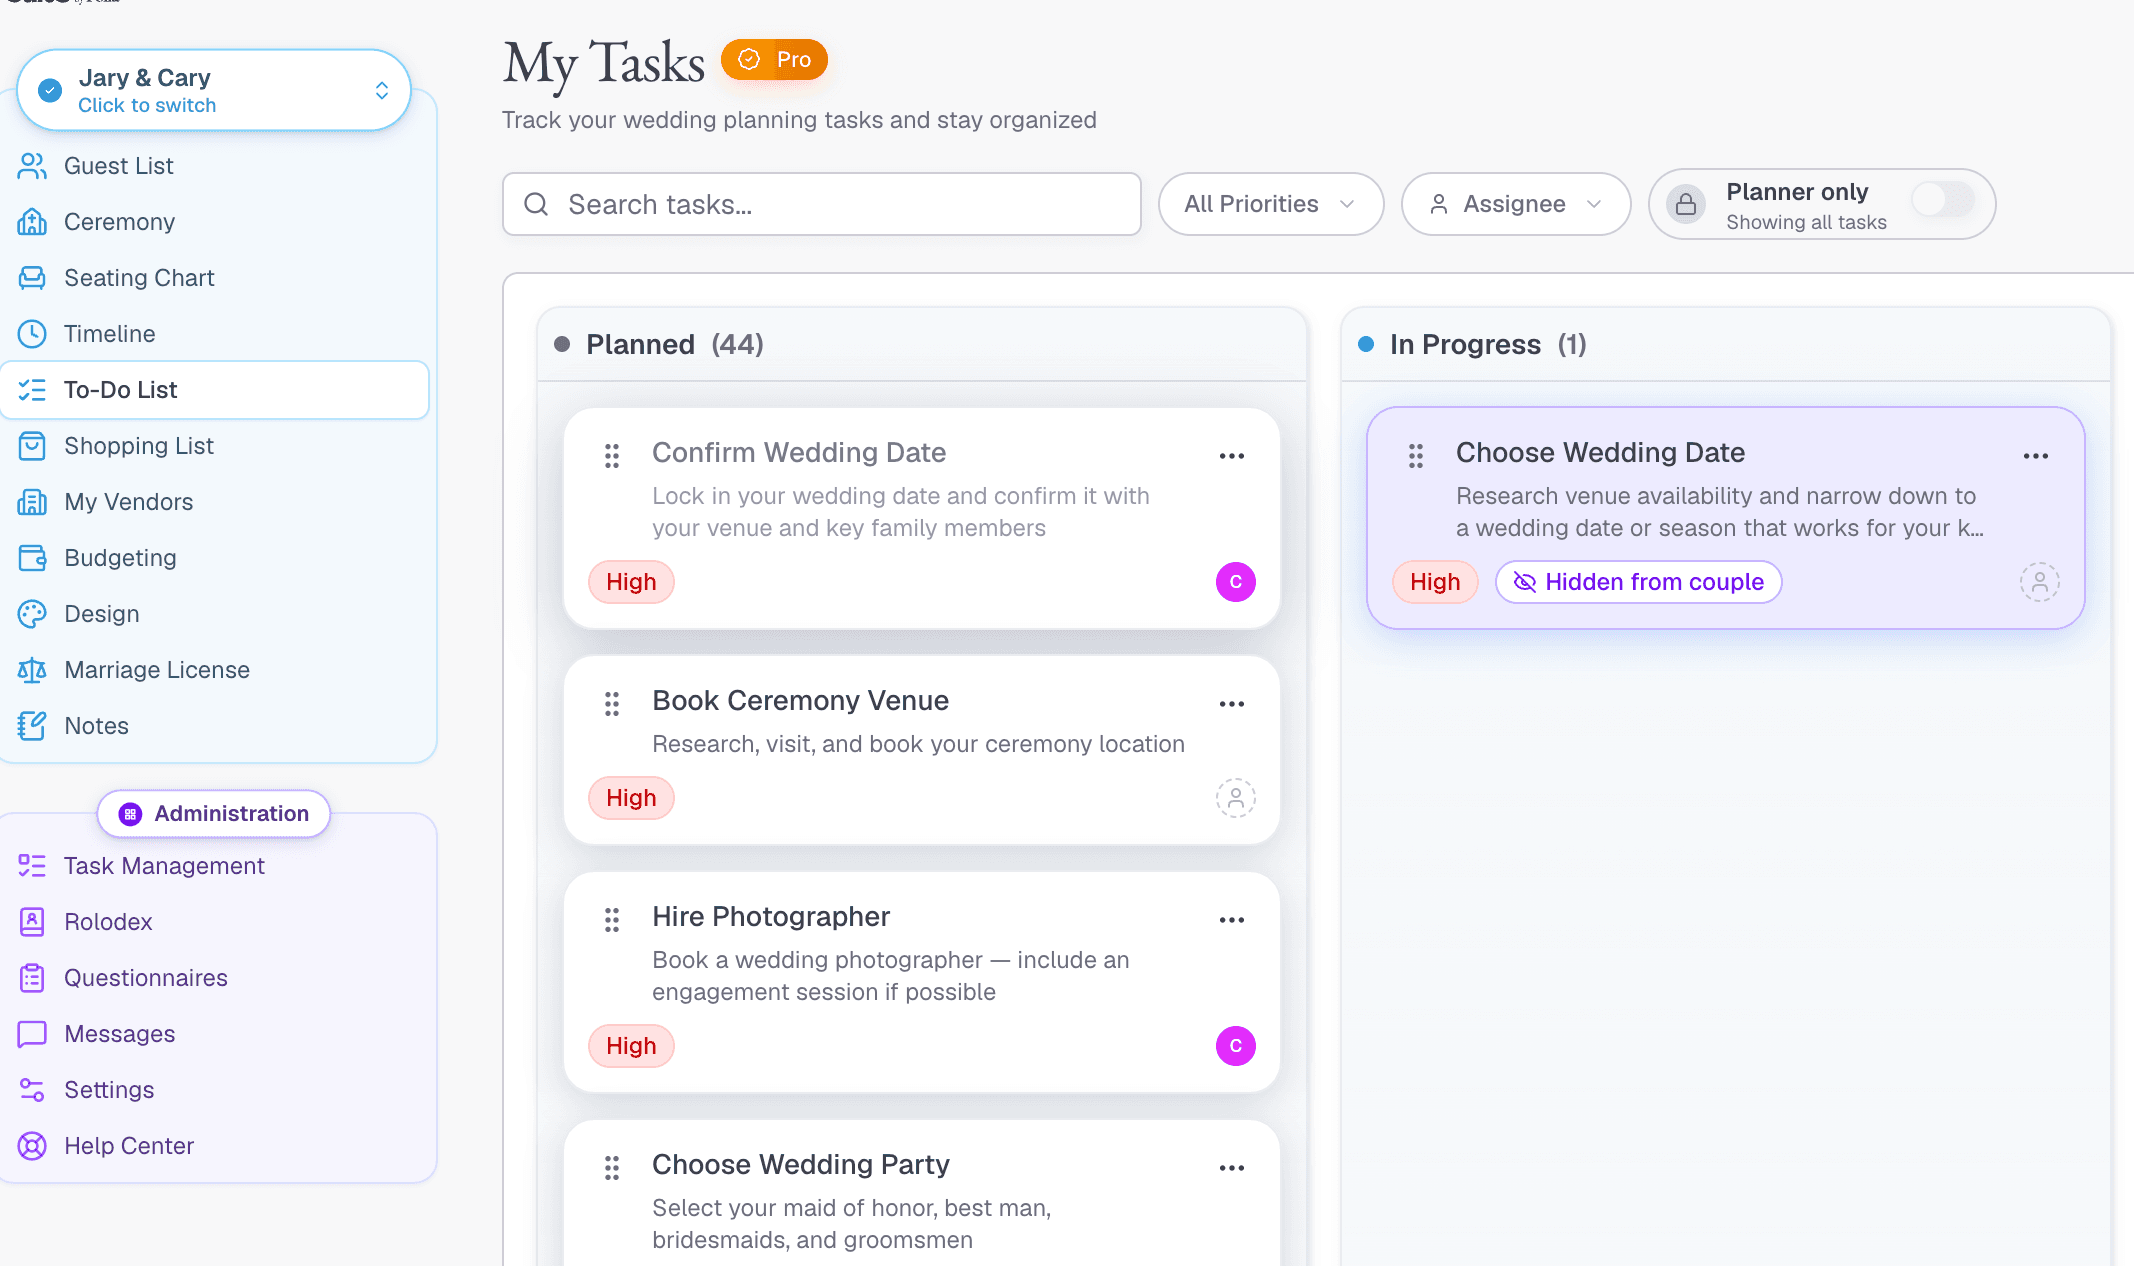
When a template is assigned to at least one wedding, its name and description are locked. This is intentional: those values have already been baked into real wedding tasks, and changing the template would create a mismatch. The package label stays editable because it's only a library-level tag. To edit a locked template, remove all wedding assignments first.
Importing from a CSV
If you already have a task list in a spreadsheet, you can import it directly instead of typing each row.
Click Import CSV in the top-right corner of the Task Management page.
Preparing your file
The importer accepts .csv files only. If your task list lives in Excel or Google Sheets, export or download it as a CSV first:
- Google Sheets: File → Download → Comma-separated values (.csv)
- Excel: File → Save As → CSV UTF-8 (Comma delimited)
- Numbers: File → Export To → CSV
Your file must have a header row as the first row — one column label per field. Each row after that is one task.
Example (table view):
| Task Name | Days Before Wedding | Description | Package |
|---|---|---|---|
| Initial consultation call | 365 | Cover scope and vision for the day | Full Planning |
| Venue walkthrough | 270 | Full Planning | |
| Send save-the-dates | 180 | Mail and email versions | Full Planning |
| Final vendor confirmations | 30 | Get all contracts signed | Full Planning |
| Day-of timeline sent to vendors | 7 | Day-Of Coordination | |
| Ceremony run-through | 1 | 45 minutes at venue | Day-Of Coordination |
Same file as CSV:
Task Name,Days Before Wedding,Description,Package
Initial consultation call,365,Cover scope and vision for the day,Full Planning
Venue walkthrough,270,,Full Planning
Send save-the-dates,180,Mail and email versions,Full Planning
Final vendor confirmations,30,Get all contracts signed,Full Planning
Day-of timeline sent to vendors,7,,Day-Of Coordination
Ceremony run-through,1,45 minutes at venue,Day-Of Coordination
Once you upload the file, Folia shows you how each column was matched and lets you confirm or adjust the mapping before anything is saved. You can also edit individual cells in the preview.
Column format
Your CSV should have a header row as the first row, followed by one task per row. The only required column is the task name — everything else is optional.
| Column | Required | What to put in it | Examples |
|---|---|---|---|
| Task Name | ✓ | What the task is | Book the florist, Send save-the-dates |
| Days Before Wedding | — | How far before the wedding this is due. A number of days, or a plain-English phrase. Blank cells default to 90 days. | 365, 90, 3 months, 6 weeks, a week |
| Description | — | Extra context or instructions for this task | Call at least 3 vendors for quotes |
| Package | — | Which service package this task belongs to | Day-Of Coordination, Full Planning |
Lead time formats accepted:
| You write | Folia reads as |
|---|---|
365 | 365 days |
12 months | 360 days |
6 weeks | 42 days |
a week | 7 days |
3mo | 90 days |
2wks | 14 days |
Trailing words are fine — "6 weeks before" and "6 weeks out" both work. Ranges like "9–12 months" and fixed dates like "June 1" are rejected because a reusable template can't use a fixed date.
Column names the importer recognizes
You don't need to rename your columns. The importer looks for common alternatives automatically:
- Task name:
task,title,action,milestone,step,to-do,item - Days before:
lead time,days out,timing,deadline,months before,weeks out - Description:
notes,details,comments,instructions,summary - Package:
service,tier,plan,offering,category,type,group
Limits
- Maximum 500 rows per import.
- Maximum file size: 4 MB.
- Files must be
.csvformat.
You can run multiple imports to build up a larger library — rows are always appended, never replaced.
After importing
Imported tasks land at the bottom of your task list. If you included a Package column, each task is automatically tagged and appears under the right package tab. From there, select the tasks you want and click Assign to Weddings to push them to your clients.