


Client Access
How to invite clients to their wedding workspace and what they experience when they accept.
When you create a wedding in Folia, your clients don't have access to it until you invite them. The invite flow is email-based — you enter their address, Folia sends them a link, and they click it to get in. They create a free account (or sign in if they already have one) and land directly in their wedding workspace. They don't need a paid Folia subscription; your account covers their access.
Sending an Invite
Go to Settings in the sidebar while on the client's wedding, then open the Client Access tab. Click Invite, enter the client's email address, set their permission level, and click Send invitation.
Folia generates a one-time invite link tied to that specific email address and sends it immediately. The invite appears in your pending list so you can see who's accepted and who hasn't.
Permissions
Every invitation gets one of two permission levels:
Can edit — the client can add, change, and update anything across their wedding workspace. This is the right choice for most couples — you want them actively engaged in their own planning.
Can view — read-only access. They can see everything but can't make changes. Useful if you want visibility into their workspace without giving them edit rights, or for other collaborators like a parent or coordinator.
You can change a member's permission level at any time from the Client Access tab — click the menu (⋯) next to their name and select Change permissions.
What Clients See
The invite arrives as an email with a button linking to a Folia acceptance page. The page shows your logo, who sent the invite, and the couple's names, with a prompt to accept. The link is locked to the email address it was sent to — if someone else tries to open it, Folia blocks them.
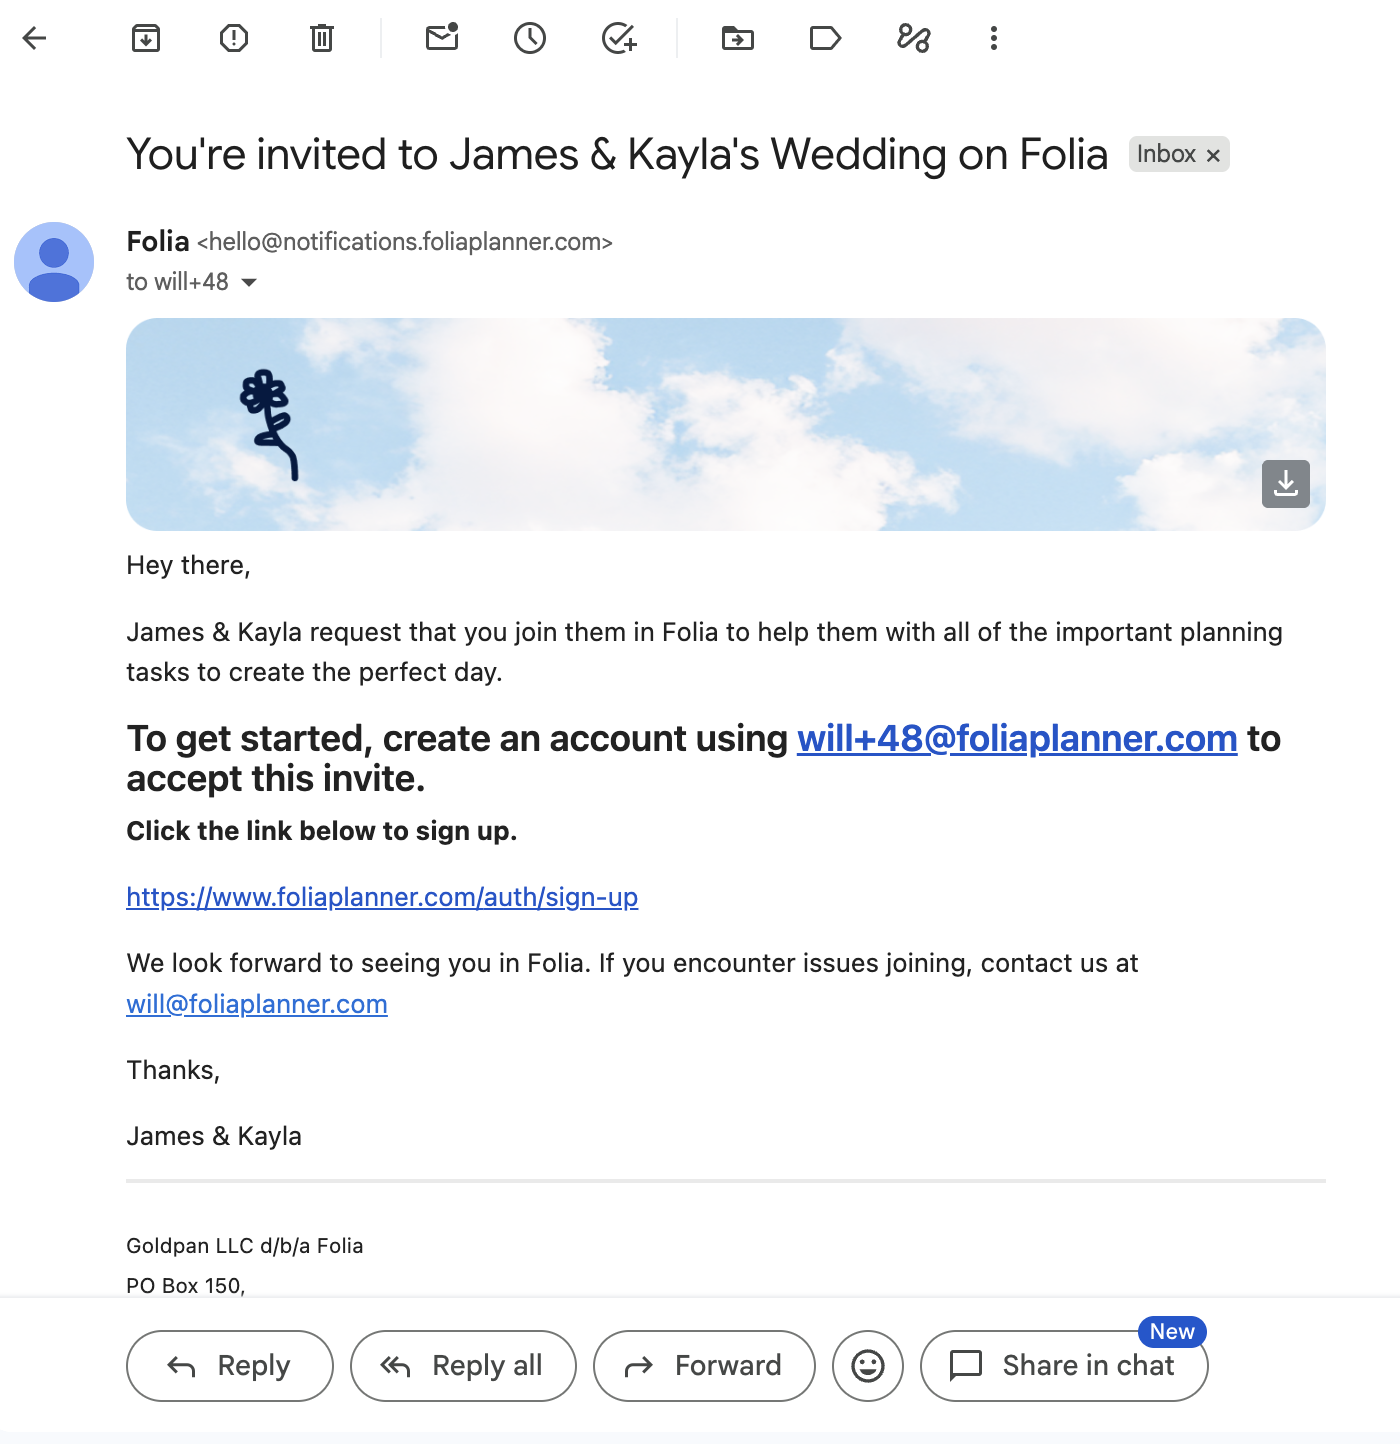
The email comes from your business: the sender shows as "Your Business via Folia", the header shows the logo you uploaded in Settings → Branding (or your business name, if you haven't uploaded one), and replies go to you. Your couple is invited to their own wedding portal; anyone else you add, like a parent or coordinator, is invited to the couple's portal by name.
Once they accept, they have access to the planning tools you've enabled for them. You control exactly what each section shows — and whether clients can make changes — from Settings → Client Access.
Controlling Client Section Access
Every section in the wedding workspace has its own access level. You set these per-wedding, so different couples can have different configurations. Go to Settings → Client Access and find the Client Access card.
For each section you can choose one of three levels:
Hidden — the section disappears from the client's sidebar entirely and they can't navigate to it. If they follow an old link, they see a message that the section isn't shared with them. Use this when you're managing a section on their behalf and don't want it in their view, or when it simply isn't relevant for a particular wedding. The data is still there — only the client's access changes.
Can view — clients can see everything in the section but can't make any changes. Useful for sections you want them to reference without editing — for example, letting them see the Day-of Timeline you've built without being able to modify it. The one exception is comments: clients with view-only access can still leave comments on the Dream Board in Design.
Can edit (default) — clients have full read/write access. This is the right choice for sections where you want them actively engaged, like the Guest List or Design Board.
The sections you can configure are:
- Guest List
- Ceremony
- Seating Chart
- Day-of Timeline
- To-Do List
- Shopping List
- My Vendors (including quotes and invoices)
- Budgeting
- Design
- Marriage License
You can also change these from the couple's page: click Client Access in the header, next to Invite Couple, to open the same settings in a side panel.
When you add a wedding, the last step, Client Access, sets these levels before you invite anyone. It starts as a copy of your most recently added wedding, so your usual setup carries over. If it's your first wedding, every section starts at Can edit.
Changes apply the next time the client opens or refreshes Folia — you don't need to re-invite them. Note that a client with a Can view member permission (set at invite time) always gets read-only access regardless of the section setting.
Used Client Visibility before?
Section access replaces the Client Visibility switches that used to be under Settings → Business. Those switches covered five sections and applied to every wedding at once.
Your existing choices carried over automatically: any section you had switched off is now Hidden on each of your weddings, and every other section is Can edit. Your clients see the same sections they did before. From now on, you can adjust each wedding on its own.
Pending Invites
Until a client accepts, their invite shows as Pending in the list with the email address and when it was sent. If they can't find the email, click Invite again and enter the same address — Folia detects the existing pending invite and re-sends the original link rather than creating a duplicate.
To cancel an invite entirely, click the trash icon next to the pending entry. This immediately invalidates the link.
Removing Access
To remove a client or collaborator who has already accepted, click the menu (⋯) next to their name and select Remove access. Their login loses access to the wedding immediately.